

Little Baby Ingram's Debut


As designers it is only natural that our announcement of our first born child had to be a representation of our excitement as well as simplistic.
As with any design brief we had a unique idea on how we wanted the overall design to look. We wanted the announcement to show case one of the first photos of our baby, and celebrate the early Christmas arrival of our snow baby. We scanned the internet looking for inspiration unable to really find anything that tickled our fancy so we began ideating on what we wanted to visually communicate. We wanted something modern and simplistic.
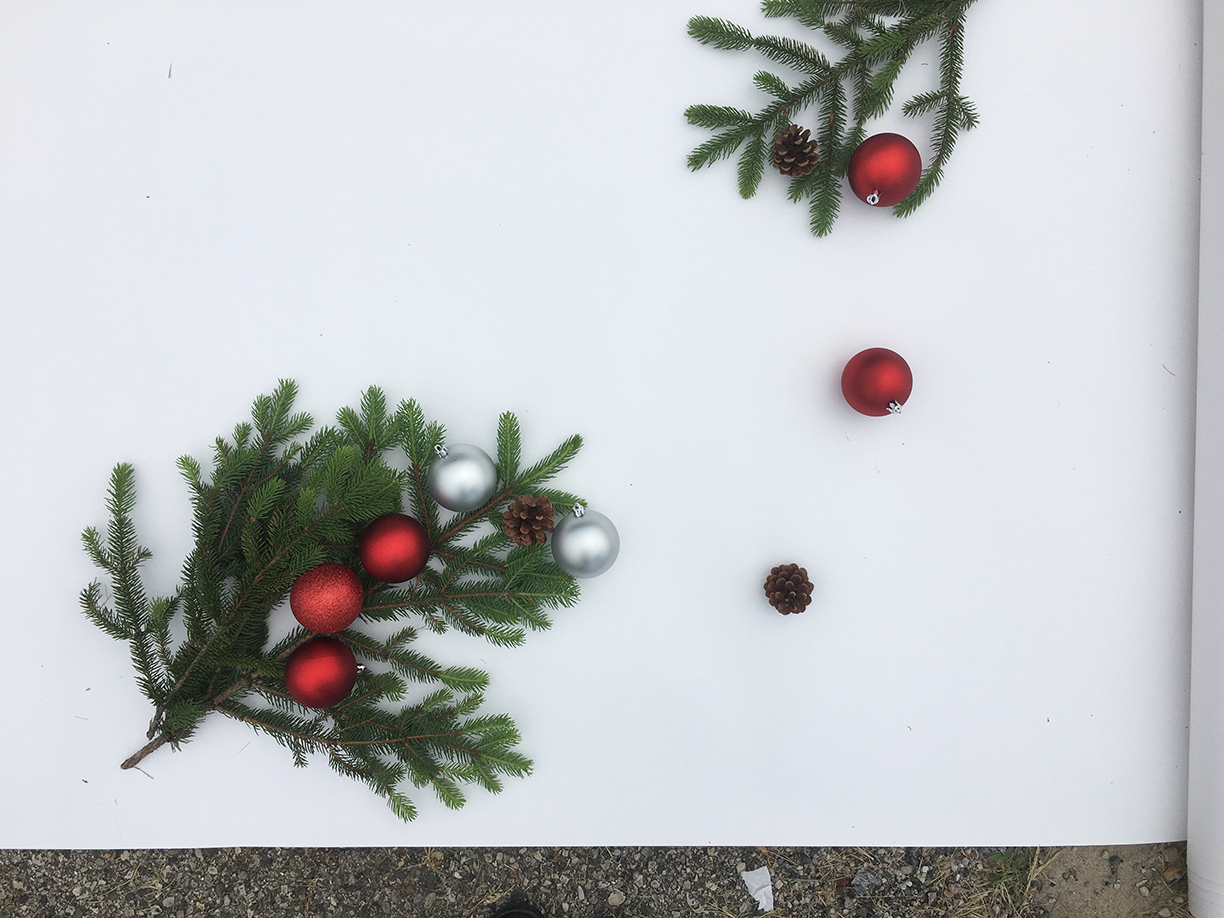
We did our photo-shoot outside of the park we frequent everyday with our dog; Kenzie. The weather called for a possibility for rain, we still had a few items we needed to collect of them being pine-cones, and holly. We gathered our Christmas ornaments, photo paper, and ultra sound pictures and headed to the shooting location. We tried multiple different arrangements and finally settled on the perfect shot.
My incredible graphic design and art director husband out did himself again- LOVE YOU!
How to create your own pregnancy or expecting announcement.

1. Create a concept or theme.
What do you want the announcement to look like? Modern and simplistic? Whimsical and vintage? Rustic?
We wanted a very clean look that fit in a similar look and feel as our elopement announcement.
2. Look for inspiration.
Create a mood board that supports your theme or concept. What do you like about the inspiration pieces? What do you not like?
We liked the idea of having a Christmas theme but we did not want it to be to cutesy or over the top.


3. Draw or mock up your design.
Think about the props you may use in the photo shot. Lay them out and test how they all might look together. Think about where the font might be incorporated if you are choosing to use font in the design.
JR and I drew up a rough sketch of what the layout might look like and how the copy might lay into the announcement.
4. Photo shoot time!

Since we do not have fancy photo lights and equipment most of our photo shots are dependent on the natural light. We decided to do our shoot outside for the best light- the best sky to look out for is a natural over cast with clouds; this is very similar to the ideal photo studio. Try to avoid a sky with direct sun (you will have very harsh shadows). Once the ideal sky is in full swing try to shoot later in the afternoon if possible. Grab all of your props and start assembling. We actually use our iphones to capture all of our moments- you do not need a fancy camera to take a great shot. Play with your composition and just have fun. We tried multiple arrangements and took a lot of pictures.


5. Post editing
Post editing is an important part of the photo process. We used photoshop for our post editing- however there are great free options as well. If you have taken your photos on your smart phone; you can edit directly on the phone or use other apps my favorite post editing app on my iphone is VSOCAM. I am not a huge fan of funky filters so I might just play with brightness and contrast and the sharpness of the photo.

6. Adding text
Since we knew we wanted to have text incorporated we also needed to brainstorm on what we wanted to say.
We had a few ideas but selected; Christmas is coming early. Arriving December 2017.
7. Selecting your social media platform
We decided to create essentially two photos that would be separated on instagram and would be side by side on facebook.
Please keep in mind the ideal resolution for both social media platforms, they are included below.


